
| Watch a quick 'How to' video on our Custom Records List builder here. |
After you create a new record list, you will immediately be redirected to the list editor to add columns, apply filters, and adjust settings for your record list.
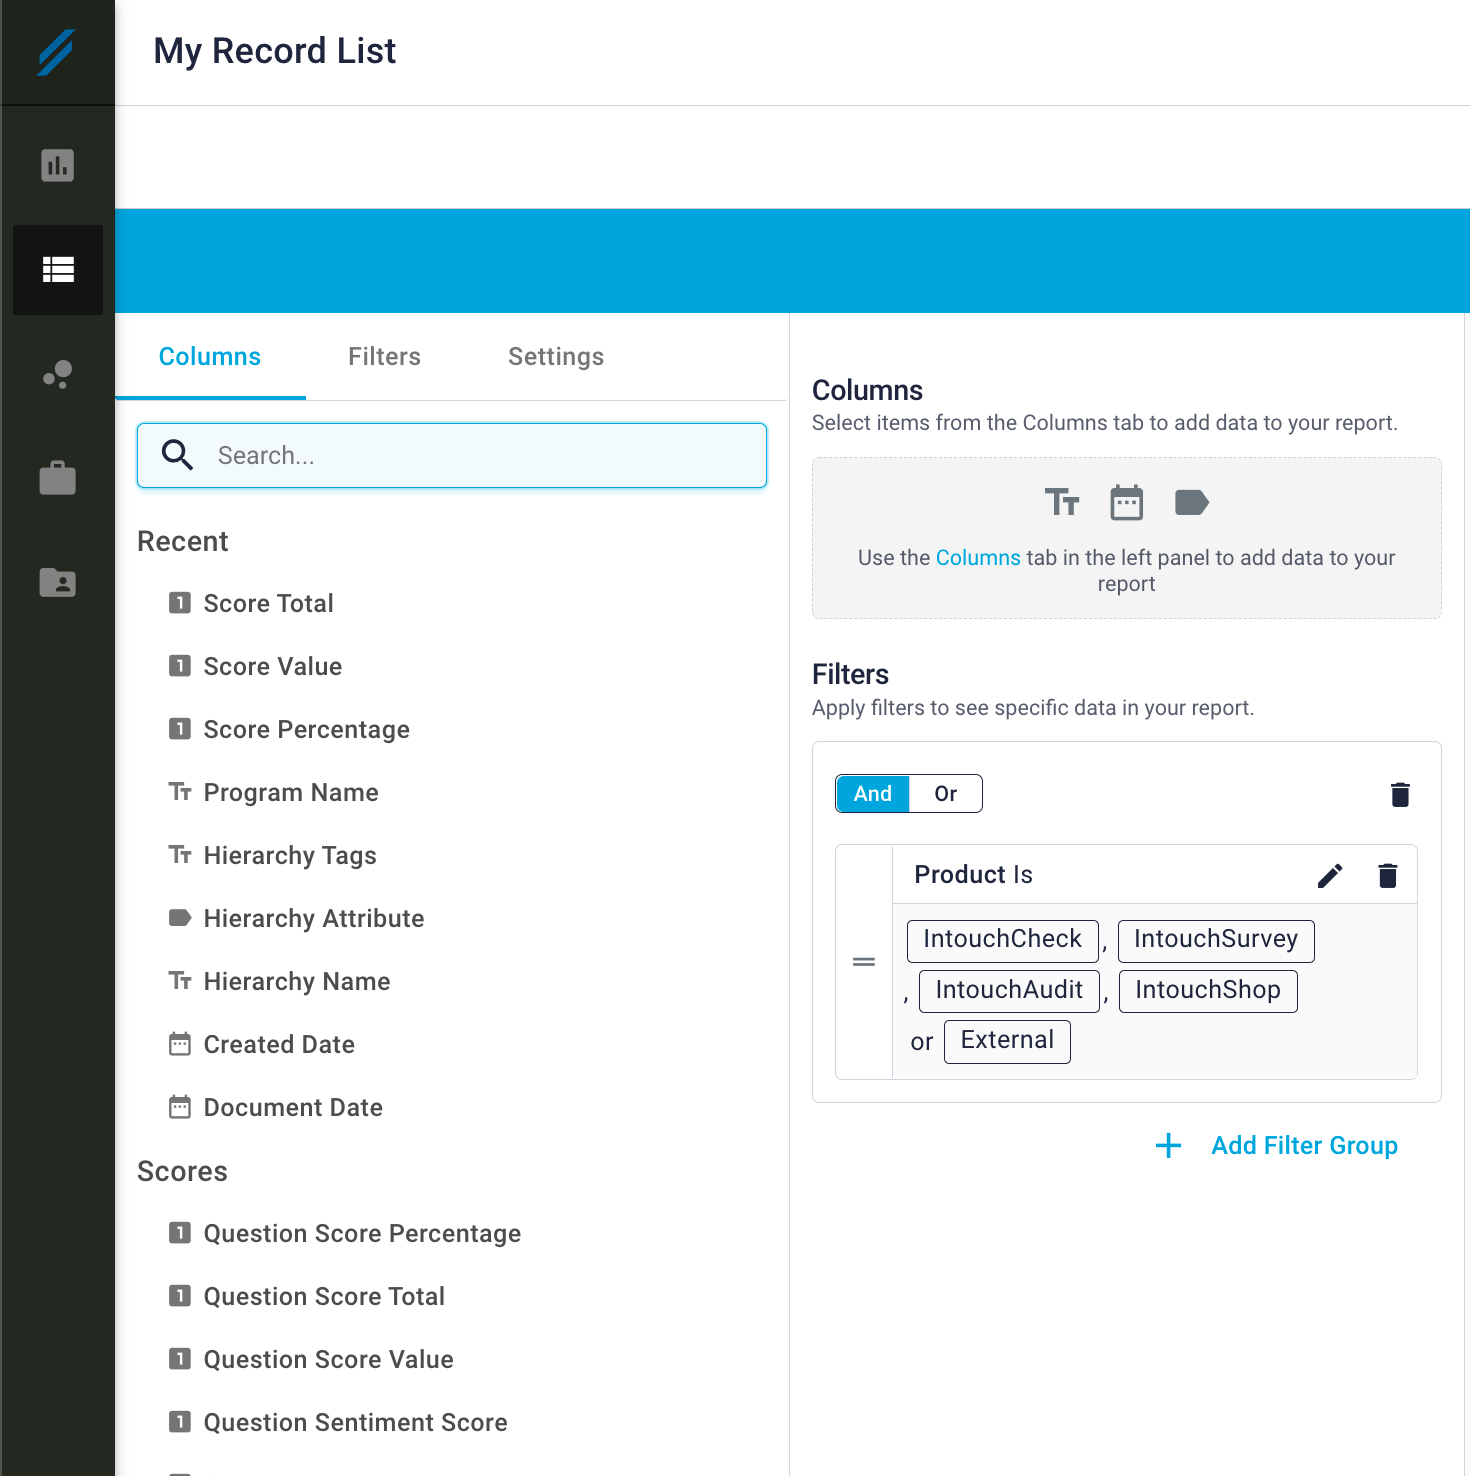
Add Columns:
You might find that our data dictionary is helpful at this stage. From the 'Columns' tab in the left hand menu:
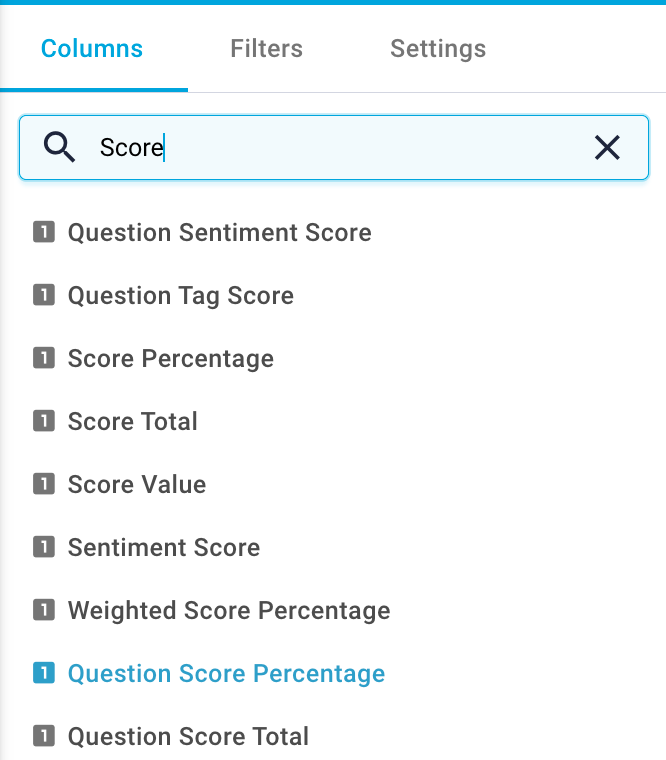
- Select the data point that you would like to add as a column. As there are many available options, the search feature can be very helpful.
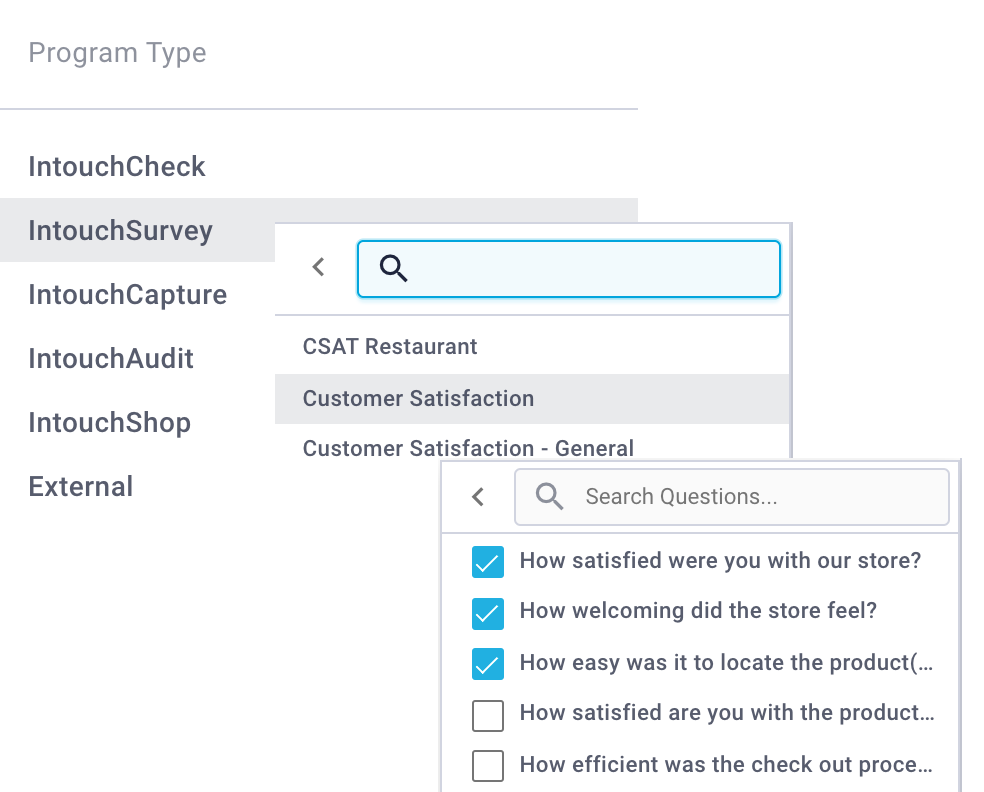
Depending on the Data Point selected, you may be prompted with a 'drill down' menu to make specific selections. In these cases, you can select multiple options though you may need to proceed through the drill down menu multiple times.
- Click the data point label to update the text if desired.

- Expand the triple-dot action menu to expose additional column settings.
Options may vary based on the the type of data point added (string, number, date etc)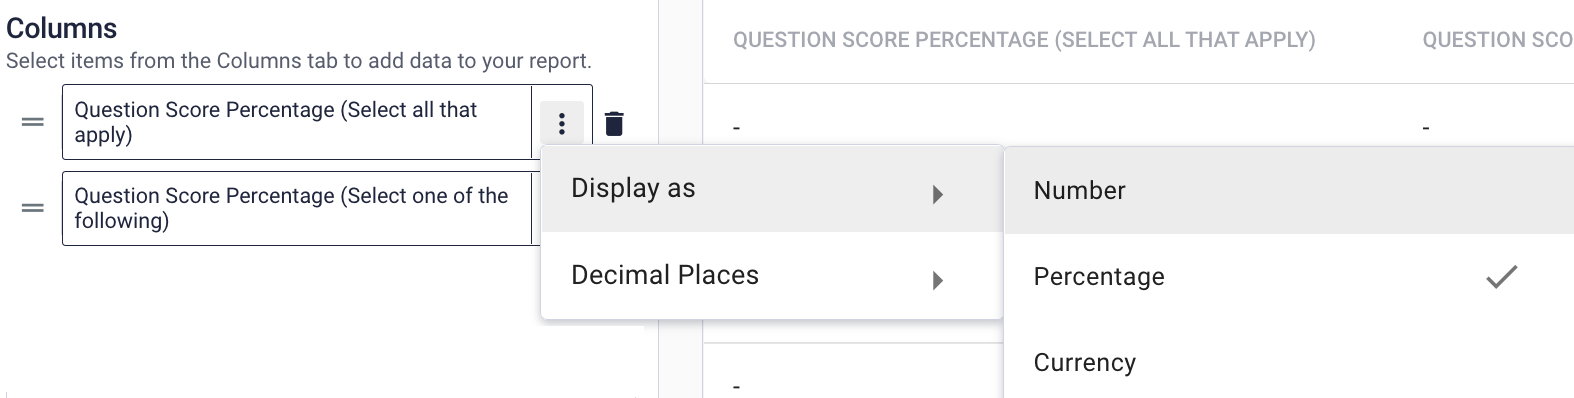
- To rearrange columns, click/hold the item icon(
 ) on any of the selected columns in order to drag the column into a new position:
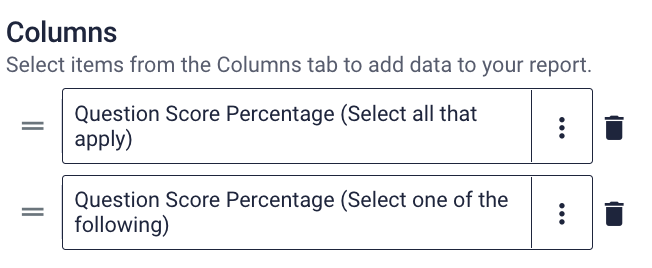
Now that you've added/arranged your record list columns, you might want to add filters or modify settings.
We encourage you to try different configurations when creating a custom record list, but if you require any assistance, do not hesitate to reach out to our Help Desk for support.
Comments
0 comments
Article is closed for comments.